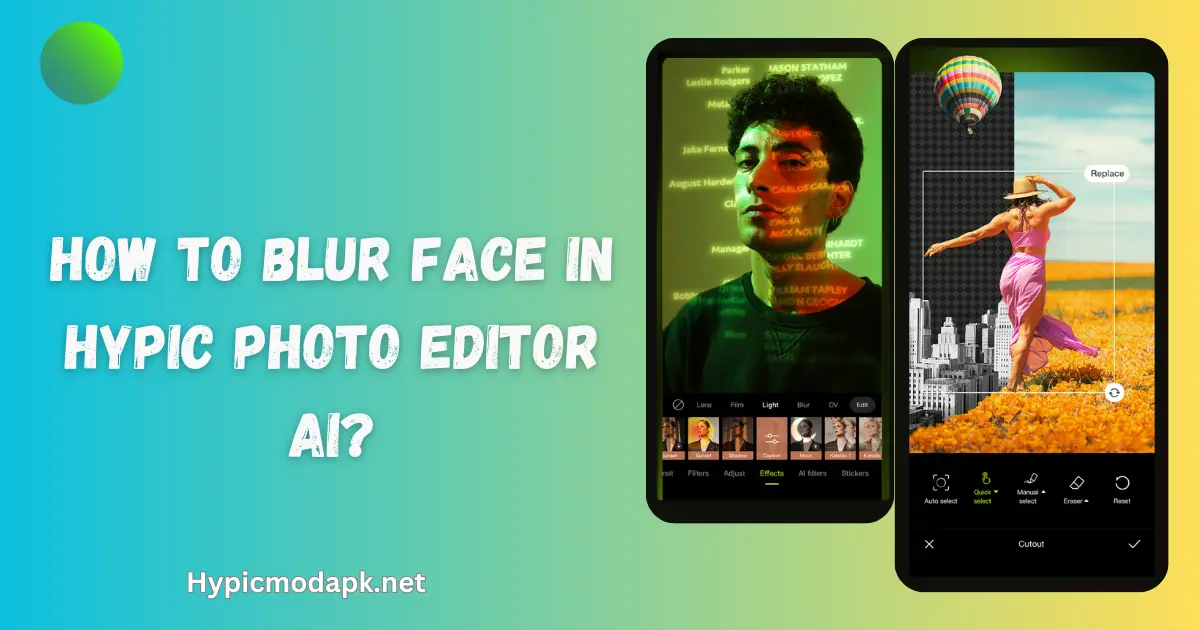
How to Blur Face in Hypic Photo Editor AI?
Blurring a face in the Hypic app is a straightforward process that helps enhance privacy or achieve creative effects in your photos.
In just a few taps, Hypic enables users to precisely blur faces while retaining the overall quality of the image. This guide provides step-by-step instructions on how to blur faces using the Hypic app.
1. Understanding Hypic’s Face Blurring Feature
The face-blurring feature in Hypic is designed to meet user demands for privacy and photo customization. Here’s a detailed explanation:
- What Is It?
Hypic’s face-blurring tool is an editing feature that identifies and blurs specific areas, such as faces, in an image. It’s ideal for protecting personal privacy or creating focus in your photography. - Why Use It?
- Maintain privacy in shared images.
- Highlight specific elements by reducing distractions.
- Comply with legal or ethical standards in photography.
- Key Benefits of Using Hypic for Face Blurring
- Precision: Hypic’s advanced AI ensures accurate face detection and editing.
- User-Friendly: The tool is intuitive, making it suitable for beginners and professionals.
- Customizable Blurring: You can adjust the level of blur to suit your needs.
Download Hypic Mod APK
2. Steps to Blur a Face in Hypic
Here’s a simple, step-by-step process to blur a face using the Hypic app:
- Open the Hypic App:
Download and launch the app on your device. Ensure it is updated to the latest version for optimal performance. - Select the Image:
Tap on the gallery icon to upload the photo you want to edit. You can also take a new picture within the app. - Access the Blurring Tool:
Navigate to the editing menu and select the “Blur” option. Hypic will automatically detect faces in the image. - Apply the Blur:
- Choose the face or area to blur.
- Use the slider to adjust the blur intensity, ensuring the effect matches your preference.
- Review and Save:
- Preview the changes to confirm satisfaction.
- Save the edited image to your gallery or share it directly via social media platforms.
3. Advanced Techniques for Face Blurring in Hypic
While the basic face-blurring feature is intuitive, Hypic also offers advanced tools to enhance your editing precision and creativity. Here are some techniques to elevate your edits:
1. Manual Adjustment of Blur Areas
If Hypic’s automatic face detection misses a spot, you can manually select and blur specific areas:
- Use the “Custom Area” option in the blur tool menu.
- Draw over the desired section with your finger to apply the blur.
- Adjust the intensity slider for precision.
2. Combining Blur with Other Effects
For a more professional look, pair the blur effect with complementary tools:
- Highlight Key Areas: Blur faces and simultaneously use the “Focus” tool to emphasize non-blurred elements.
- Add Background Effects: Combine blurring with background softening to create a cinematic effect.
3. Layered Editing
Hypic allows you to add multiple layers of edits:
- Blur multiple faces or objects individually.
- Create unique effects by blending blur layers with filters or overlays.
4. Best Practices for Using Face Blurring
To ensure your edits are professional and effective, consider these tips:
1. Maintain Natural Balance
Excessive blurring can look artificial. Use a moderate blur intensity to maintain a natural appearance while protecting privacy.
2. Focus on the Purpose
Always align your edits with the goal:
- Use subtle blurs for artistic enhancement.
- Opt for stronger blurs when prioritizing privacy.
3. Preview and Adjust
Always review the edits on different screen sizes to ensure the desired effect translates well across devices.
4. Use High-Resolution Images
Start with high-quality photos for better results. Hypic’s features perform best on clear, detailed images.
5. Troubleshooting Common Issues
Sometimes, users may encounter challenges when using the face-blurring feature. Here’s how to resolve them:
Problem: Automatic Detection Misses a Face
Solution: Use the manual adjustment tool to blur the missed face or object.
Problem: Image Looks Pixelated After Editing
Solution: Ensure the photo is of high resolution before editing. Avoid applying extreme blur levels that distort the image quality.
Problem: Difficulty Sharing Edited Photos
Solution: Check app permissions for storage and sharing. Re-export the photo in a compatible format (e.g., JPEG, PNG).
6. Additional Features in Hypic for Enhanced Editing
Hypic’s face-blurring feature is just one of its many tools. By exploring the app’s additional features, you can create professional-quality edits tailored to your needs.
1. Background Blur
To enhance focus on the main subject while maintaining privacy, Hypic allows you to blur the background.
- How to Use:
- Select the “Background Blur” option.
- Adjust the intensity to subtly blend the surroundings without overpowering the image.
- Benefits:
- Creates depth.
- Highlights the subject.
2. Object Removal
Hypic provides a tool to remove unwanted elements, complementing the face-blurring feature.
- How to Use:
- Select the object removal tool.
- Mark the object or area to erase.
- Preview and save the changes.
- Use Case: Erase photo-bombers or unnecessary objects while maintaining privacy through face blur.
3. Masking Tool
The masking tool allows selective editing, letting you combine blurred and sharp areas in the same image.
- Example:
- Blur a person’s face while keeping their clothing details sharp.
7. Why Choose Hypic Over Other Apps for Face Blurring?
Hypic outshines competitors with its unique blend of simplicity and advanced features.
1. AI-Powered Precision
- Hypic’s AI detects faces with incredible accuracy, saving time and ensuring consistency.
2. User-Friendly Interface
- Simple navigation and clear options make it accessible for beginners.
3. Multiple Export Options
- Save edited images in high resolution for professional use.
- Direct sharing to platforms like Instagram, Facebook, and WhatsApp.
4. Affordability
- Many features, including face blurring, are free to use. Premium features are available at competitive prices.
8. Practical Use Cases for Face Blurring
Face blurring is versatile and widely applicable. Here are some practical scenarios:
1. Protecting Privacy in Shared Photos
- Use Case: Sharing group photos online where some individuals prefer anonymity.
- Solution: Blur their faces while leaving the rest of the photo intact.
2. Content Creation
- Use Case: Social media creators or vloggers can use blurring to maintain privacy while showcasing surroundings.
3. Compliance with Privacy Regulations
- Use Case: Businesses sharing customer photos can blur faces to meet GDPR or similar legal requirements.
4. Artistic Photography
- Use Case: Blurring can add a dramatic effect, drawing attention to specific elements.
9. Step-by-Step Guide for Advanced Editing in Hypic
Taking your face-blurring edits to the next level is easy with Hypic’s advanced tools. Below is an in-depth guide to make your edits stand out:
1. Layering Multiple Edits
- How to Use:
- After applying the face blur, use Hypic’s “Layers” feature to add additional effects like filters or text overlays.
- Arrange layers to ensure the blur remains the primary focus.
- Tip: Use subtle filters to enhance the overall aesthetic without overpowering the blur effect.
2. Combining Blurring with Highlight Effects
- How to Use:
- Blur faces or objects while adding highlights to other parts of the image using the “Spotlight” tool.
- This technique draws viewers’ attention to specific details.
- Blur faces or objects while adding highlights to other parts of the image using the “Spotlight” tool.
3. Using Gradient Blurs
- How to Use:
- Select the gradient option within the blur tool to create a smooth transition between blurred and sharp areas.
- Select the gradient option within the blur tool to create a smooth transition between blurred and sharp areas.
- Benefits:
- Adds depth and creates a professional finish.
10. Tips for Professional-Looking Edits
To make your edits look polished and professional, follow these best practices:
1. Stick to Subtlety
- Avoid overusing the blur tool, which can make photos appear unnatural. Instead, use soft blurs for a realistic look.
2. Consistency is Key
- Ensure that all faces or objects in the image are blurred at a similar intensity for cohesive results.
3. Test on Different Screens
- Preview your edits on various devices to ensure the blur effect maintains its quality across resolutions.
4. Experiment with Lighting and Shadows
- Use Hypic’s lighting adjustment tools to enhance the overall tone of the image, ensuring the blur integrates seamlessly.
11. Conclusion
Blurring faces in photos is an essential tool for privacy, compliance, and creative enhancement, and Hypic provides a user-friendly solution to achieve professional results. Here’s what you’ve learned:
FAQs
Can Hypic Blur Faces Automatically?
Yes, Hypic’s AI automatically detects faces for blurring. You can refine this by manually selecting additional areas.
Does Blurring Affect Image Quality?
No, Hypic’s blur tool is designed to preserve the image’s overall quality while effectively applying the effect.
Is the Blurring Feature Available in Free Mode?
Basic blurring tools are free, but advanced customization may require a premium subscription.
Can I Edit Blurred Photos Later?
Yes, Hypic allows you to save projects and re-edit them anytime within the app.
Is Hypic Compatible with All Devices?
Hypic supports iOS and Android platforms. Ensure your device meets the minimum requirements for optimal performance.
Can I save templates for repeated use in Hypic?
Yes, Hypic allows users to save their editing templates, making it easy to replicate similar edits across multiple photos.
Is the blurring feature effective for group photos?
Absolutely. Hypic’s AI can detect multiple faces in a group photo and apply blurring selectively or collectively.
What’s the best resolution for editing in Hypic?
For optimal results, use photos with a resolution of 1080p or higher. This ensures the edits remain crisp and detailed.
Does Hypic support collaborative editing?
While Hypic does not currently offer real-time collaborative editing, you can share projects with others for sequential editing.
How secure are the photos edited in Hypic?
Hypic ensures user privacy by storing edits locally on your device unless you choose to back them up to the cloud.